
Concrete Project Checklist: What to Prepare Before Pour Day

Concrete Project Checklist: What to Prepare Before Pour Day

Utah Rock & Concrete • September 2, 2026

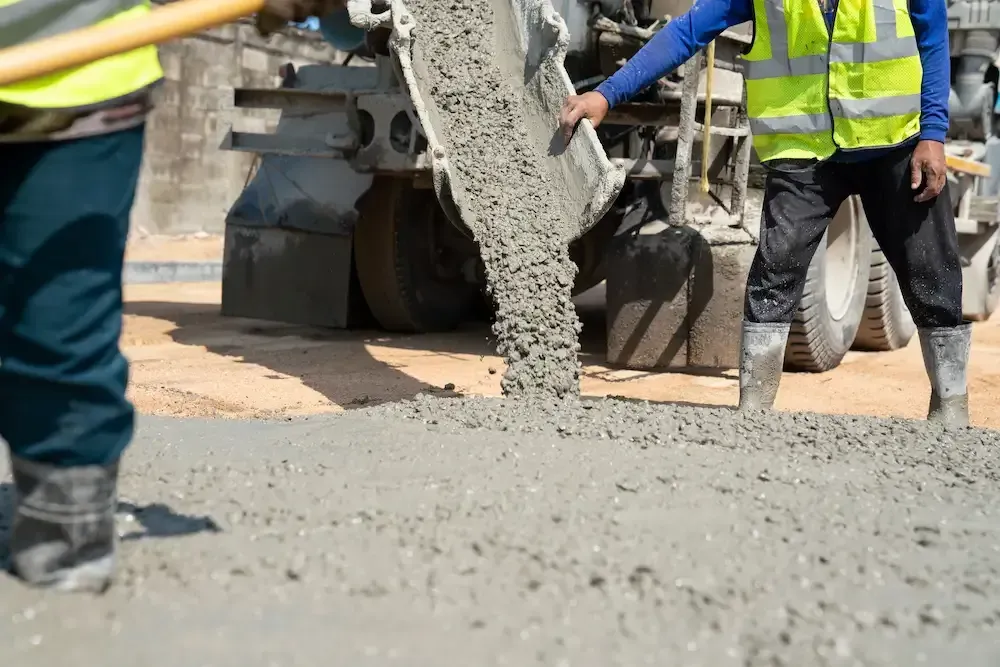
A concrete pour may look simple once everything is ready. The truck or trailer arrives, the concrete is loaded or delivered, and the work begins. A smooth project, however, starts with proper preparation. Taking time to organize the job site can help you avoid delays, last-minute problems, and unnecessary material waste.

A patio, walkway, footing, driveway, or fence post project all require planning before the concrete arrives. Use this concrete project checklist to organize the important details before pour day.

1. Confirm Your Measurements

Start by checking the dimensions of the area you plan to fill. Measure the length, width, and depth of the planned pour, then use those measurements to estimate the amount of concrete required. Accurate measurements can help you avoid ordering too little or paying for more material than you need.

For an irregularly shaped area, divide the space into smaller sections and calculate each section separately. Add the measurements together to get your estimated total volume. It is also worth reviewing your calculations before placing an order, especially for projects with different depths or multiple sections.

Before ordering, confirm:

  • Length and width of the pour
  • Required depth
  • Total area
  • Estimated concrete volume
  • Additional areas that need concrete

If you're unsure about your calculations, have them reviewed before ordering. Your concrete supplier can guide you through the ordering process and explain what details they need. Even so, you should still verify the final measurements with your contractor before placing the order.

2. Prepare and Compact the Base

The surface underneath your concrete matters just as much as the concrete itself. Start by removing grass, loose soil, debris, and other unwanted material from the area. The goal is to create a stable surface that is properly prepared for the planned pour.

Depending on the project, you may need an appropriate aggregate or base material. This material should be placed at the required depth and compacted properly before the concrete arrives. A poorly prepared base can contribute to settling and other problems over time.

A simple site-preparation checklist

  • Remove grass and debris
  • Establish the required depth
  • Add the appropriate base material
  • Compact the base
  • Check the surface for low or soft areas

Take the time to inspect the prepared area before moving on to the next step. Fixing soft spots, uneven areas, or other problems is much easier before the concrete is on site.

3. Set Your Forms Before the Concrete Arrives

Forms help keep fresh concrete within the intended boundaries. They also establish the shape and dimensions of the finished surface. Forms should be positioned and secured before the concrete arrives so the crew can focus on placing and finishing the material.

Check the dimensions one more time after setting the forms. Make sure they are properly supported and will remain in place during the pour. You should also verify the planned elevation and slope of the finished surface before work begins.

Making adjustments at this stage is much easier than trying to correct an issue while concrete is being placed. A few extra minutes spent checking the forms can save time during the pour.

4. Make Sure the Job Site Is Accessible

Think about how the concrete will get from the delivery point to the area being poured. The path should be clear enough for the required equipment, vehicles, or trailer to move safely. Limited access can make an otherwise straightforward concrete project much more difficult.

Remove parked vehicles, tools, branches, and other obstacles from the access route. Check gates and narrow passages, and look for overhead branches or wires that could interfere with vehicles or equipment. If you're using U-Cart pickup or arranging concrete delivery, consider where the truck or trailer will enter, stop, and leave.

Check the following:

  • Driveway width and clearance
  • Gates and narrow passages
  • Overhead branches or wires
  • Distance from the delivery point to the pour
  • Available space for vehicles and equipment

Good site access can help the pour move more efficiently. It also gives everyone a clearer idea of how the concrete will reach the prepared area.

5. Have Your Tools and Crew Ready

Concrete placement and finishing require the right tools, and you don't want to search for equipment after the concrete arrives. Gather everything you need ahead of time and place the tools where they can be reached easily. The specific equipment will depend on the size and type of your project.

Depending on the pour, your equipment may include:

  • Shovels and rakes
  • Screed board
  • Concrete floats
  • Edging tools
  • Finishing tools
  • Wheelbarrows
  • Safety equipment

If you're working with a crew, assign responsibilities before the pour begins. Everyone should understand their role and know where they need to be during placement and finishing. Clear responsibilities can help the work move quickly once the concrete arrives.

6. Confirm Your Concrete Order and Schedule

Review your concrete order before pour day. Confirm the concrete type, quantity, and scheduled pickup or delivery, and make sure the information matches your project requirements. This is also a good time to address any questions with your supplier.

For a delivery, make sure someone is available to receive the concrete and direct the driver to the appropriate access point. The delivery area should be ready before the scheduled arrival time. Last-minute access problems can create unnecessary delays.

For U-Cart pickup, confirm your vehicle and towing arrangements ahead of time. Check the supplier's requirements before arriving at the pickup location so you know what to expect.

7. Have a Plan for Pour Day

Create a simple plan for the entire pour. Know where the concrete will be placed and how it will reach the prepared area. Think through each step before the material arrives so your team can work without unnecessary interruptions.

Plan who will handle placement, screeding, finishing, and cleanup. Keep the necessary tools nearby and make sure everyone knows the order of tasks. Having these details sorted out can help prevent confusion once the concrete arrives.

Keep an eye on the weather forecast, too. Rain, extreme temperatures, and other conditions can affect your schedule and working conditions. If conditions may interfere with the pour, contact your concrete supplier and discuss your options.

Ready for Your Concrete Pour?

Good preparation can make a concrete project easier to manage from start to finish. Give yourself enough time to review the project, address questions, and confirm your concrete order before the scheduled date. A little planning upfront can help you approach the pour with greater confidence.

Utah Rock & Concrete provides small-batch concrete and U-Cart pickup options in Orem for smaller projects across Utah County. Contact us to discuss your project, material needs, and available pickup or delivery options.

Recent Posts

Gray tile patio beside a pebble border and green grass lawn
By Utah Rock & Concrete • September 2, 2026
Discover the best decorative rock for your yard by comparing rock types, sizes, colors, uses, installation, and cost considerations.

Three-way border between gray gravel, tan river stones, and green grass panels
By Utah Rock & Concrete • September 2, 2026
Avoid costly mistakes when ordering bulk landscaping materials. Learn how to choose the right material, calculate quantities, plan delivery, and more.
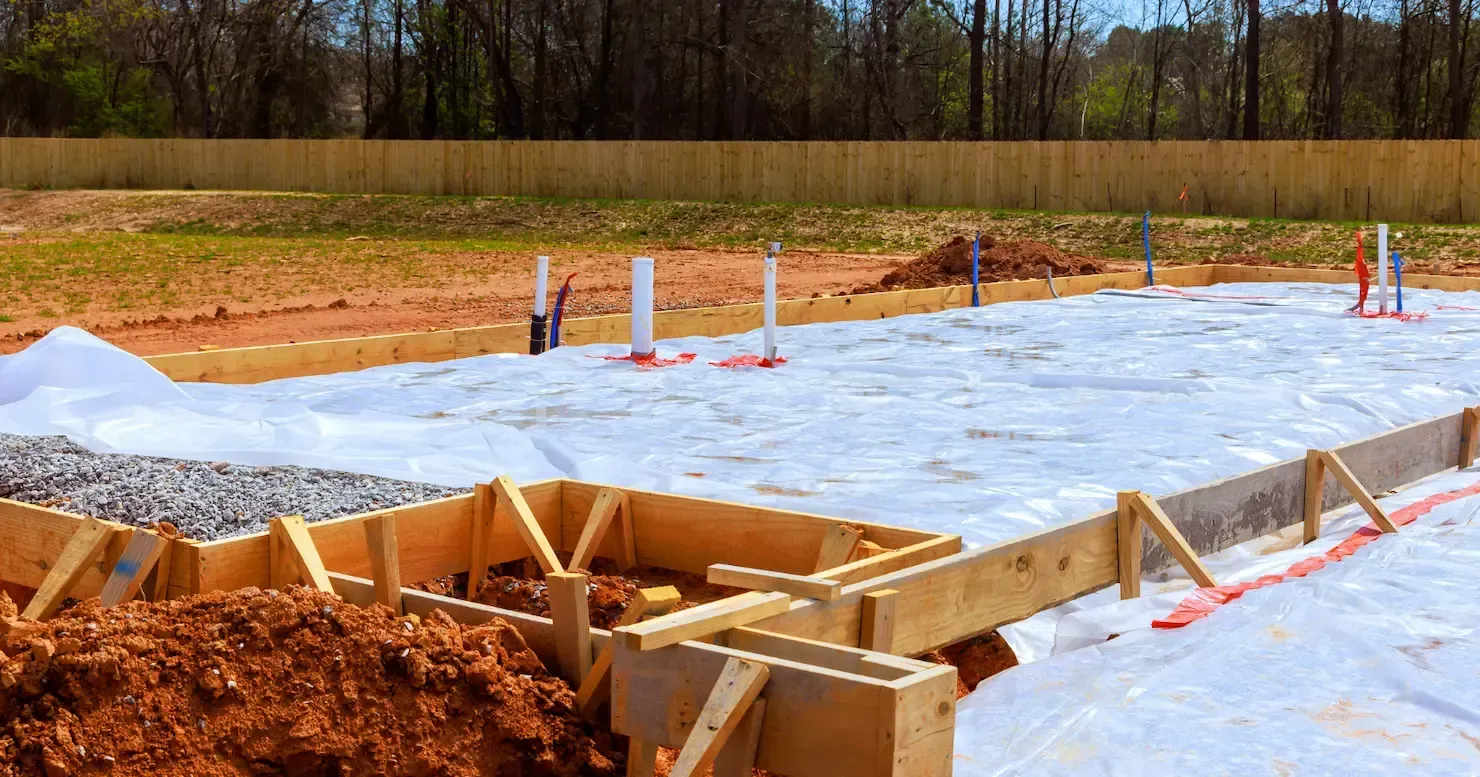
Fresh concrete slab foundation under construction with wooden forms and orange markers on a dirt lot
By Utah Rock & Concrete • September 2, 2026
Discover how a properly prepared base can prevent settlement, improve drainage, distribute weight, and support a stronger construction project.
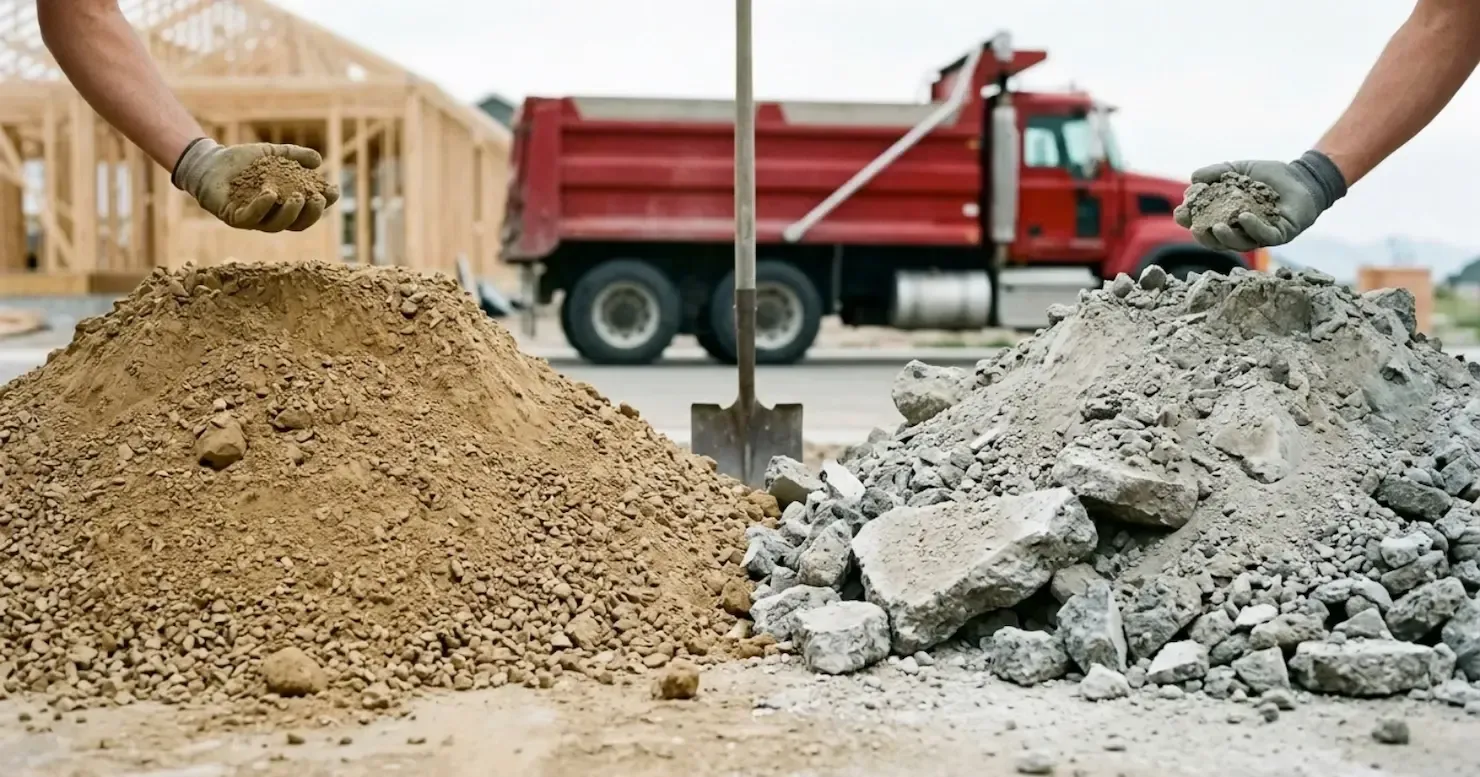
Construction workers dumping sand and gravel into separate piles beside a red dump truck
By Utah Rock & Concrete • September 2, 2026
Learn the differences between hard pack and recycled concrete road base, from composition and compaction to cost and common applications.
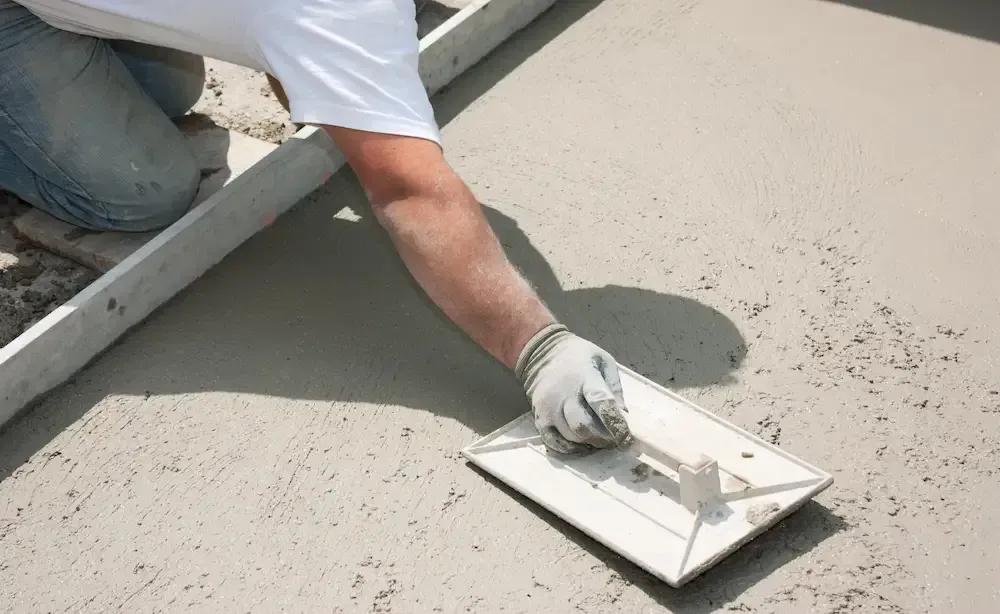
Worker smoothing wet concrete with a trowel on a construction site
By Utah Rock & Concrete • September 2, 2026
Explore five common uses for small-batch concrete and learn why it can be a practical option for smaller residential projects.
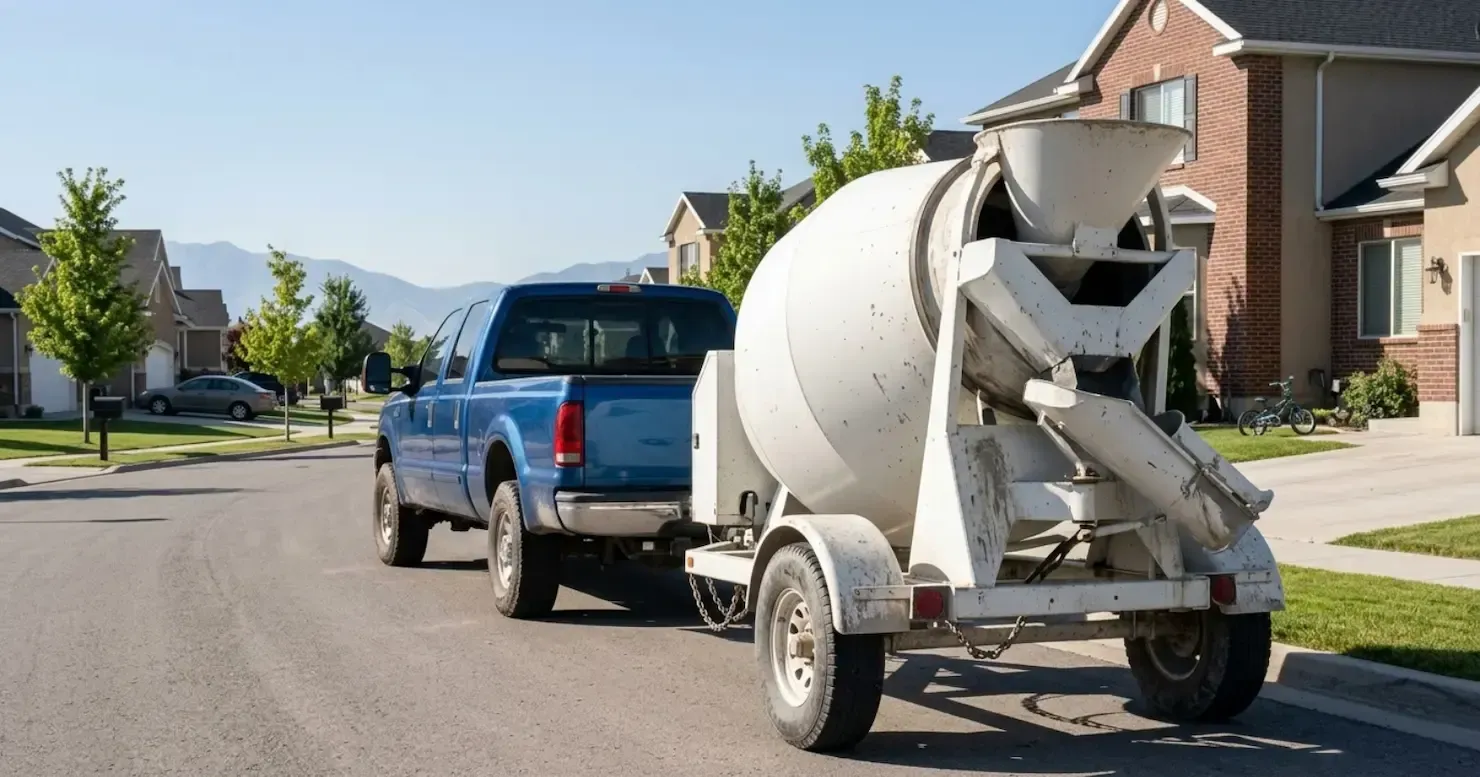
Blue pickup towing a white cement mixer trailer on a suburban street, with houses and mountains in the background
By Utah Rock & Concrete • September 2, 2026
Find out what to expect when picking up U-Cart concrete, including trailer requirements, towing tips, concrete placement, and return instructions.
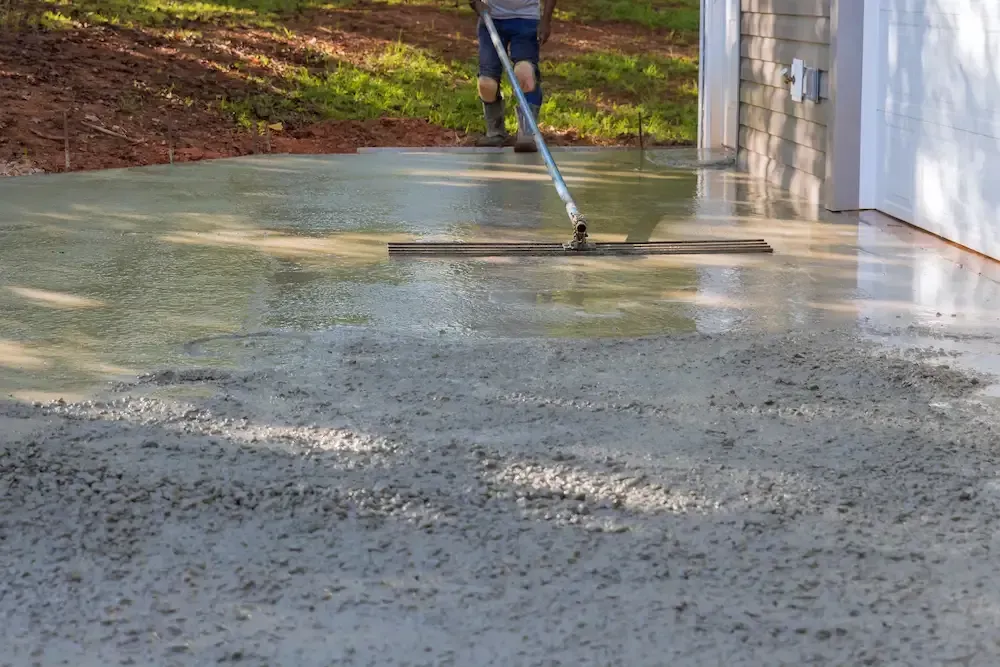
Person smoothing wet concrete beside a house with a long-handled tool
By Utah Rock & Concrete • September 2, 2026
Find a reliable small-batch concrete supplier by evaluating order options, pricing, concrete quality, equipment, communication, and reviews.
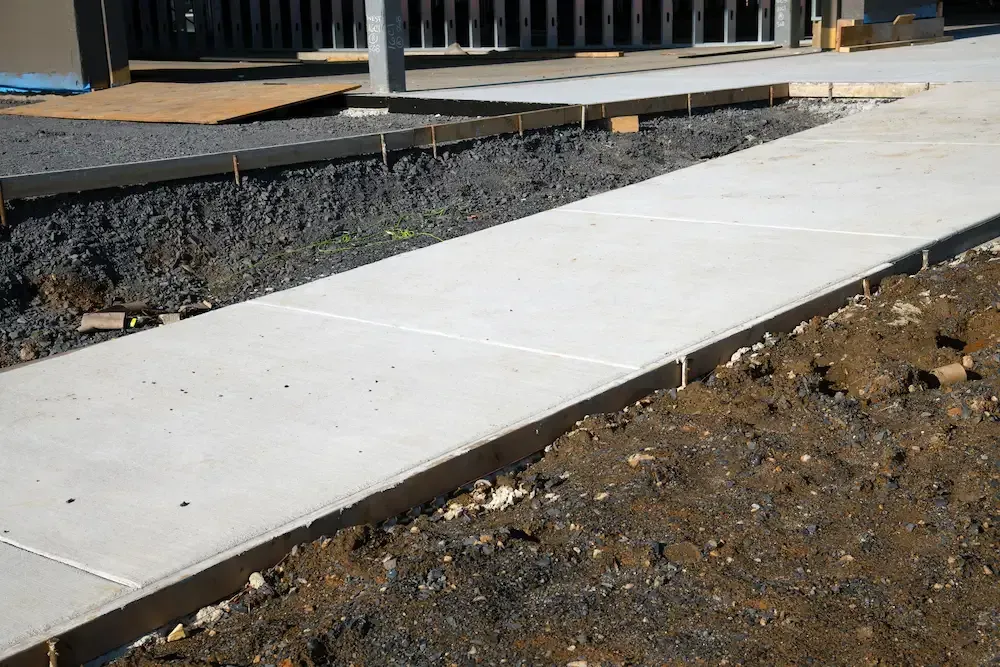
New concrete sidewalk beside a raised wooden deck and gravel path under construction
By Utah Rock & Concrete • September 2, 2026
Learn when to choose small-batch concrete for smaller pours, repairs, restricted access, DIY projects, and other concrete needs.
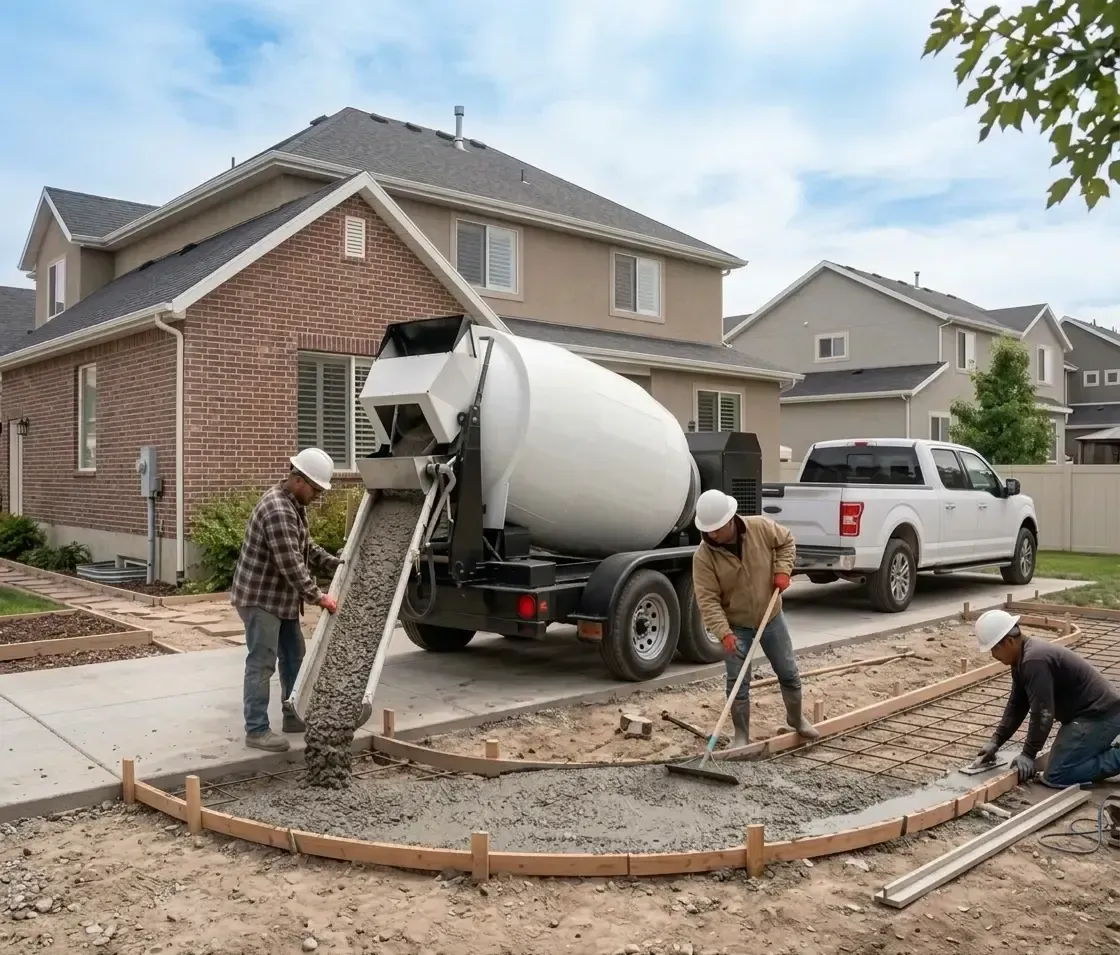
Concrete being poured from a mixer truck into a large pile at a construction site
By Utah Rock & Concrete • September 2, 2026
Learn five important things to consider before ordering ready-mix concrete, from strength and mix design to workability and project specifications.
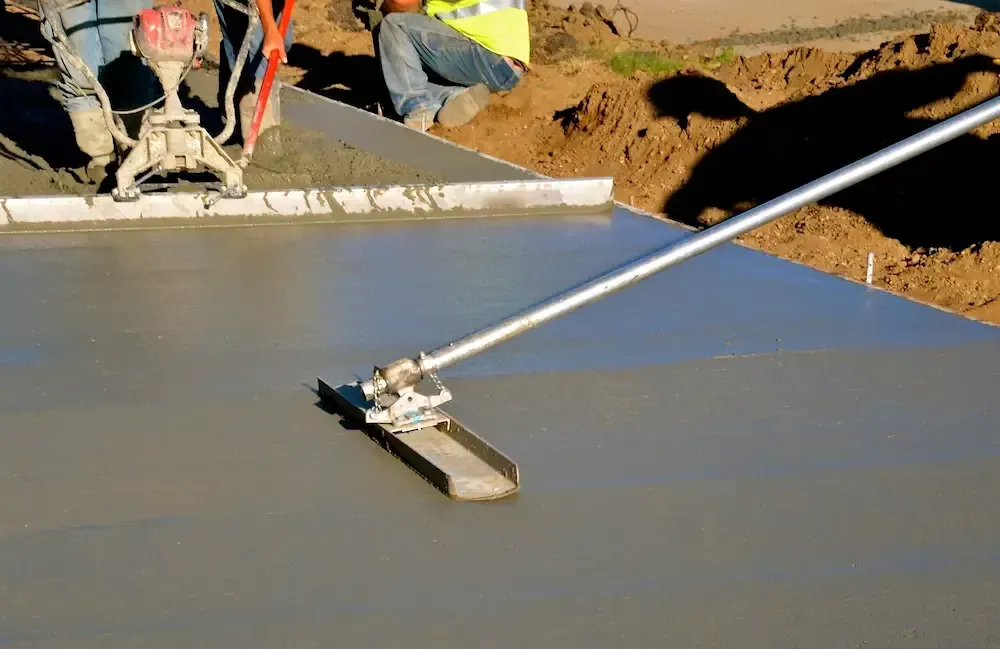
Worker smoothing fresh concrete with a long-handled screed at a construction site
By Utah Rock & Concrete • September 2, 2026
Find out how to estimate your concrete needs for slabs, driveways, patios, and other projects with simple formulas and examples.
Show More